Warning:
The ACD connection is one of the most complex to set up! It requires the intervention of a competent in-house person, or your integrator. We are also available to support you, so that you can use the connector to facilitate the collection of your customers' receivables and develop a new cash management business.
Once the connector has been set up perfectly, it will be very easy to retrieve aged customer balances and process collection requests just as easily as with other connectors.
You must connect to ACD from your customer area and from the list of LEGALCITY connectors.
https://app.legalcity.fr/integrations
PREPARATION
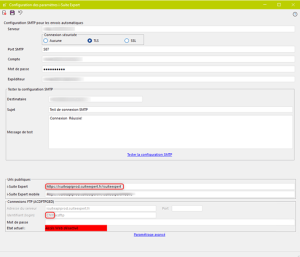
- Retrieve the Suite Expert url and connection reference (CNX)
Step 1: Launch DIA software.
Step 2: Go to the "i-Suite Expert settings" menu.
(Administration → i-Suite Expert Tools → i-Suite Expert Settings)
Step 3: Recover the i-Suite Expert public Url or Suite Expert url.
Step 4: Retrieve the login or connection reference (CNX). First part before the slash (default value is "CNX")
- Check if cost accounting is enabled
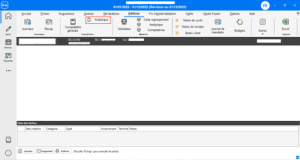
Step 1: Open Comptabilité Expert.
Step 2: Access the accounting file.
Step 3: In the "Editions" tab, check whether cost accounting is mentioned.
- Check whether schedules need to be managed
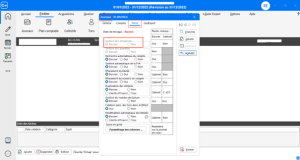
Step 1: Open Comptabilité Expert.
Step 2: Access the accounting file.
Step 3: In the "Files" tab, check under "Logs/Entry" whether schedule management is configured.
- Set up file sharing with accounting software
Step 1: Open Comptabilité Expert.
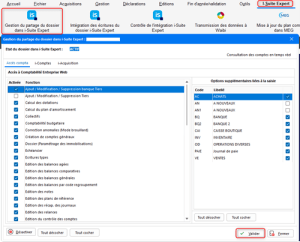
Step 2: Go to the i-Suite Expert menu to open "Manage folder sharing in i-Suite Expert".
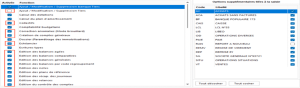
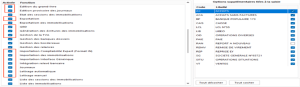
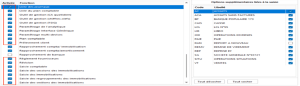
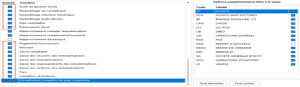
Step 3: Check the boxes required for sharing with ACD. (All fields framed in red are required)
Step 4: On the right-hand side of the following screens, select the journals in which to create accounting entries via API.
 CONNECTION
Step 1: Choose a name for your connection.
Step 2: Enter the url retrieved in preparation step 1.
Step 3: Enter the connection reference retrieved in preparation step 1.
Step 4: Enter your ACD account username.
Step 5: If the cost accounting field was mentioned (second step of the preparation phase), then cost accounting = "active", otherwise cost accounting = "inactive".
Step 6: Indicate whether schedules are to be managed.
Step 7: Enter your ACD account password.
Step 8: Click on the "Connect" button to finalize the connection.
CONFIGURATION
Step 1: Select the accounting folder.
Step 2: Select the directory in the DMS for sales attachments (PDF).
Step 3: Select the DMS directory for purchase receipts.
Step 4: Click on "Validate" to finalize the configuration.
Once the configuration has been completed, you can follow the "normal connection" circuit by following this link from your LEGALCITY customer area; https://app.legalcity.fr/integrations#